Today's card is simple but elegant. This is one of those types of cards that you can do year after year and it will never go out of style...and it doesn't hurt that it has snowflakes either! :)
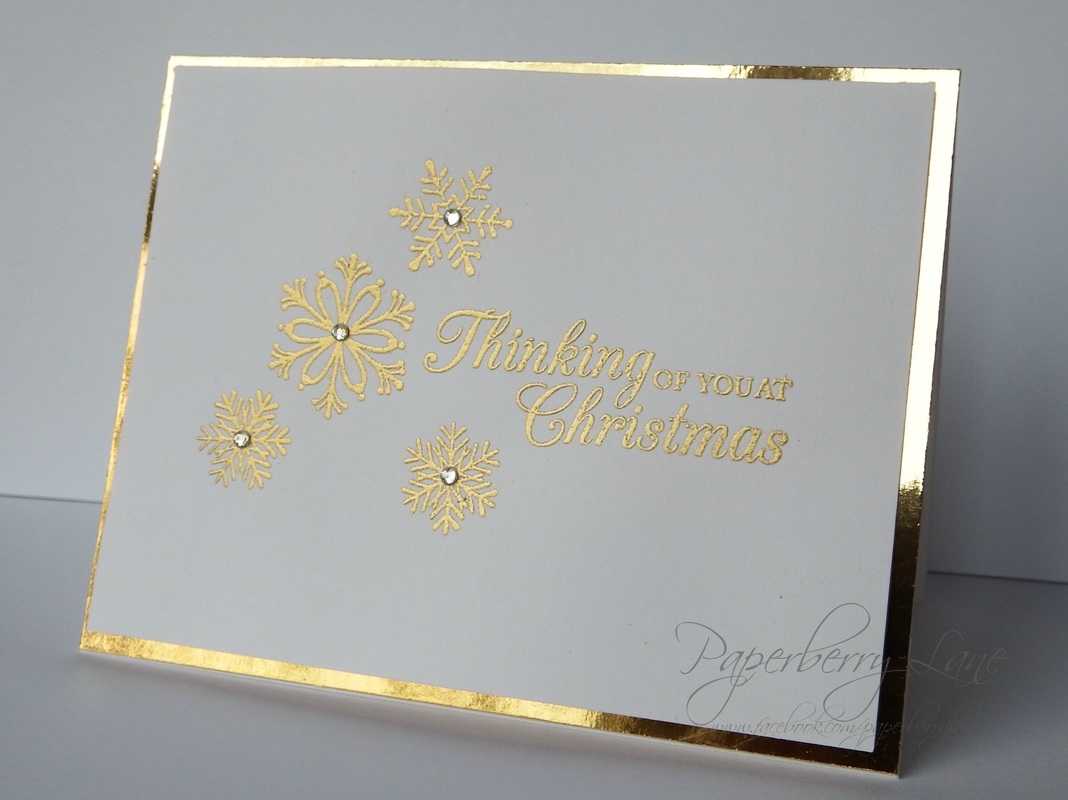
To get this look, you really only need a sentiment stamp, at least two different snowflake stamps, some gold mirror cardstock, supplies to do heat embossing and a few sticky-back rhinestones.
The hardest part of it all is seeing all of it stamped invisibly in the Versamark while you work out placement of the next stamp. I started by stamping the sentiment first then the biggest snowflake and worked it that way. Sort of biggest to smallest. After everything was stamped, I heat with my heat tool, layered it on the gold mirror cardstock and added a few rhinestones and that's it! This design would work for almost any color, too. This would be great in red, silver, green..pretty much anything!
I hope this card gets you inspired! Don't forget to "like" Paperberry Lane on Facebook and invite some friends to like it as well so no one misses out on any projects or tutorials. I have a great tutorial planned after the countdown is done!
Have a great night y'all!
 RSS Feed

