I'm really starting to love the cartoon/whimsical stamp sets. They give me a chance to use water coloring in a new way. The set I used for this card is made by Hero Arts and is called "Lil Hoot". If you don't have this set, no worries as this design is versatile and can be used for almost anything. Let's get started!

I changed the colors and the sentiment from the original. I get bored easily and I don't do too many repeat cards, so for me changing the colors or sentiment is enough to make it feel new to me!
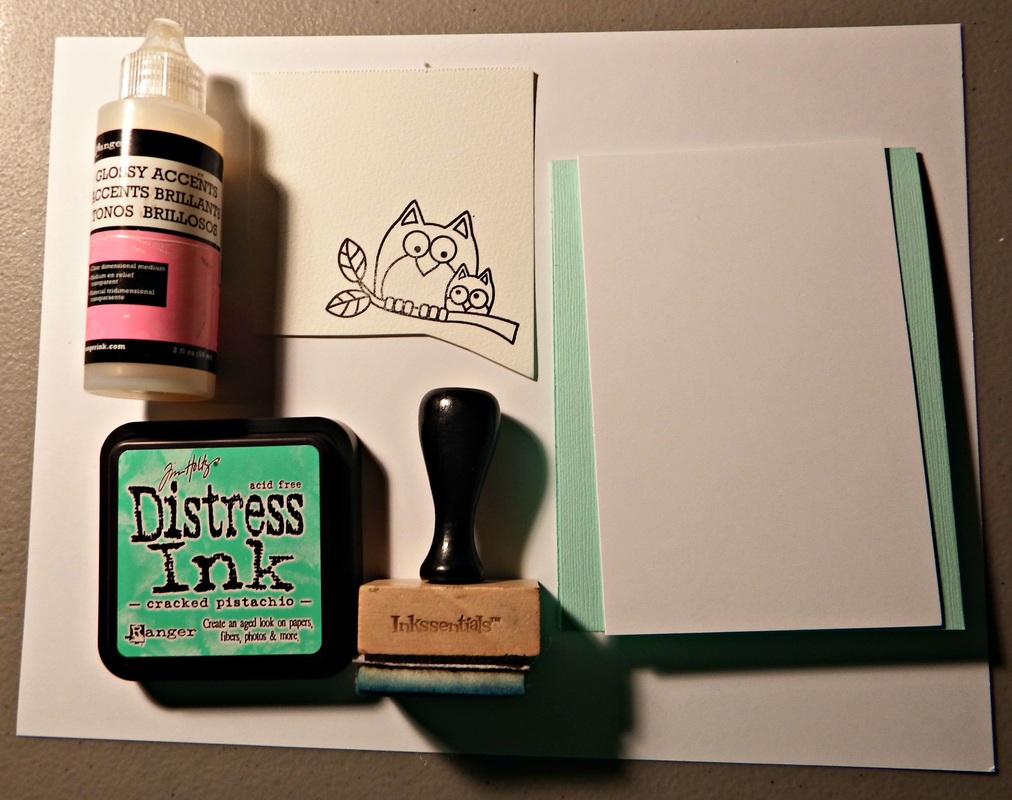
What you will need:
1. Cardstock base (in your color of choosing). My front measures 4 1/4" x 5 1/2".
2. White cardstock measuring 3 1/2" x 5 1/2"
3. Distress inks in your chosen color. I used Cracked Pistachio, Spiced Marmalade, Black Soot and Mustard Seed.
4. Water brush (not pictured).
5. Water color paper (only for your colored image).
6. Glossy Accents.
7. The usual suspects...paper trimmer, adhesive and dimensional foam dots.
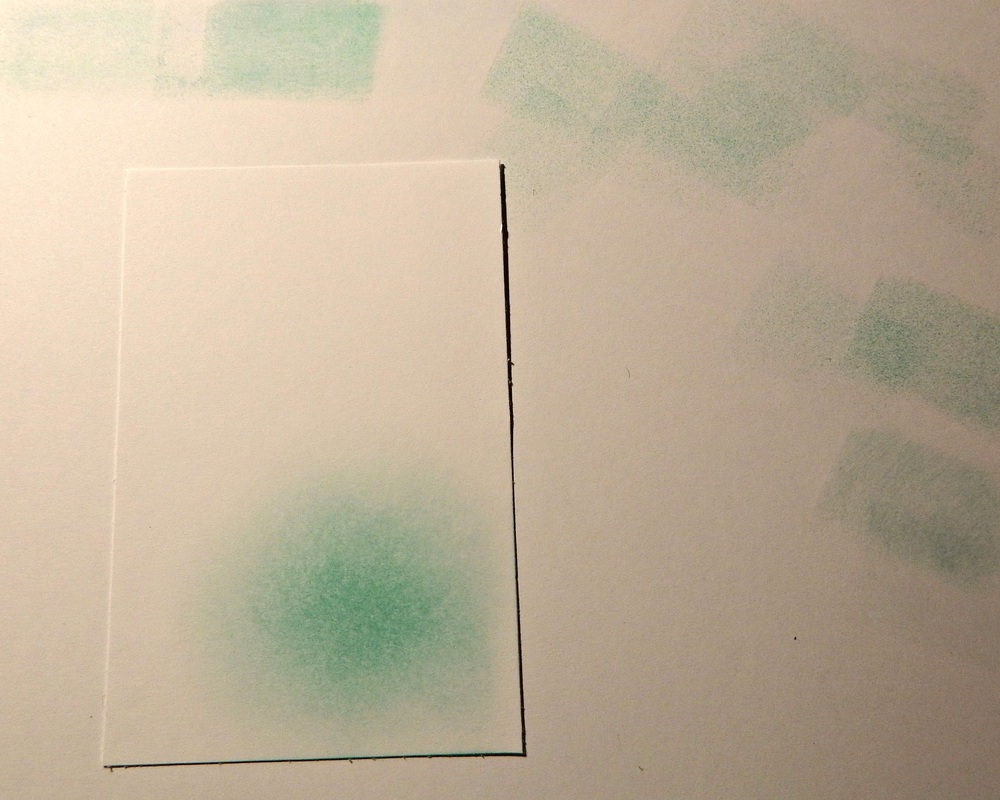
Get started by inking up your foam blender to your desired background color. Next, and this is key to a soft, blended color; be sure to "stamp off" with your blender to remove some of your ink. If you don't, you will have a blotchy, dark spot rather than a soft highlighted area.
Be sure to stay away from the edges, as those areas as they will pick up that distress ink easily. You may want to make your sides 1/4" longer and cut it away after you've blended your ink. I do this depending on the area that I'm shading.
Your sheet will look a bit like this when you're done.
Be sure to stay away from the edges, as those areas as they will pick up that distress ink easily. You may want to make your sides 1/4" longer and cut it away after you've blended your ink. I do this depending on the area that I'm shading.
Your sheet will look a bit like this when you're done.
Now, comes the fun part...coloring! To color this owl and give it the colors a nice, blended look; I used the same technique for water coloring with distress inks in a previous blog. If you're unfamiliar or need a refresher, jump on over and take a look. This technique is great if you want that "Copic-colored" look but don't have them. It does take a bit of practice but it can be really addictive!
Of course, if you have another way you prefer to color then use that!
Of course, if you have another way you prefer to color then use that!

These are the main colors I used for coloring my owls. For the branch and leaves, I used mowed lawn and vintage photo (not pictured). For their cute little bellies, I used the black soot to give it just a little shading. and the Spiced Marmalade and Mustard Seed were used on the outside of their bodies.
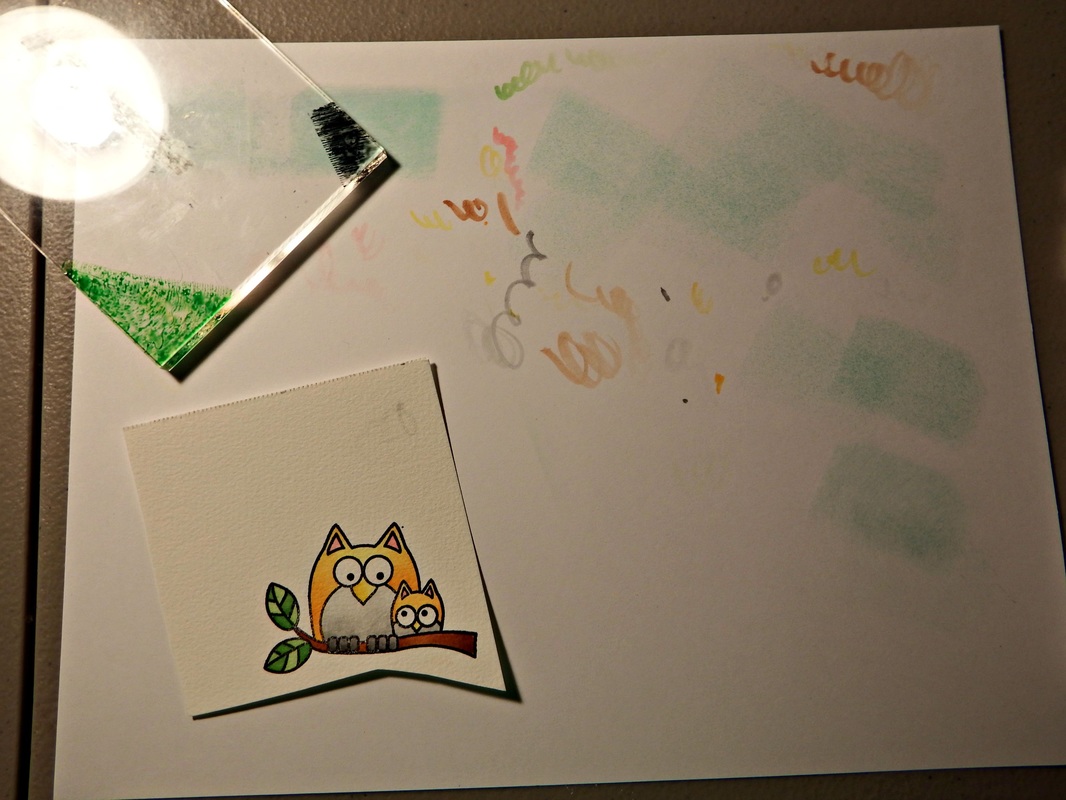
This is a little peek into the process. My inks are on my largest acrylic block, my water brush marks and distress inks on my scratch paper. The process can be messy but the finished piece is always worth it!
After you've colored your piece, adhere everything together. I decided to change my sentiment (from the same set) and change up the banner position. This set is so great for many occasions!
After you've colored your piece, adhere everything together. I decided to change my sentiment (from the same set) and change up the banner position. This set is so great for many occasions!
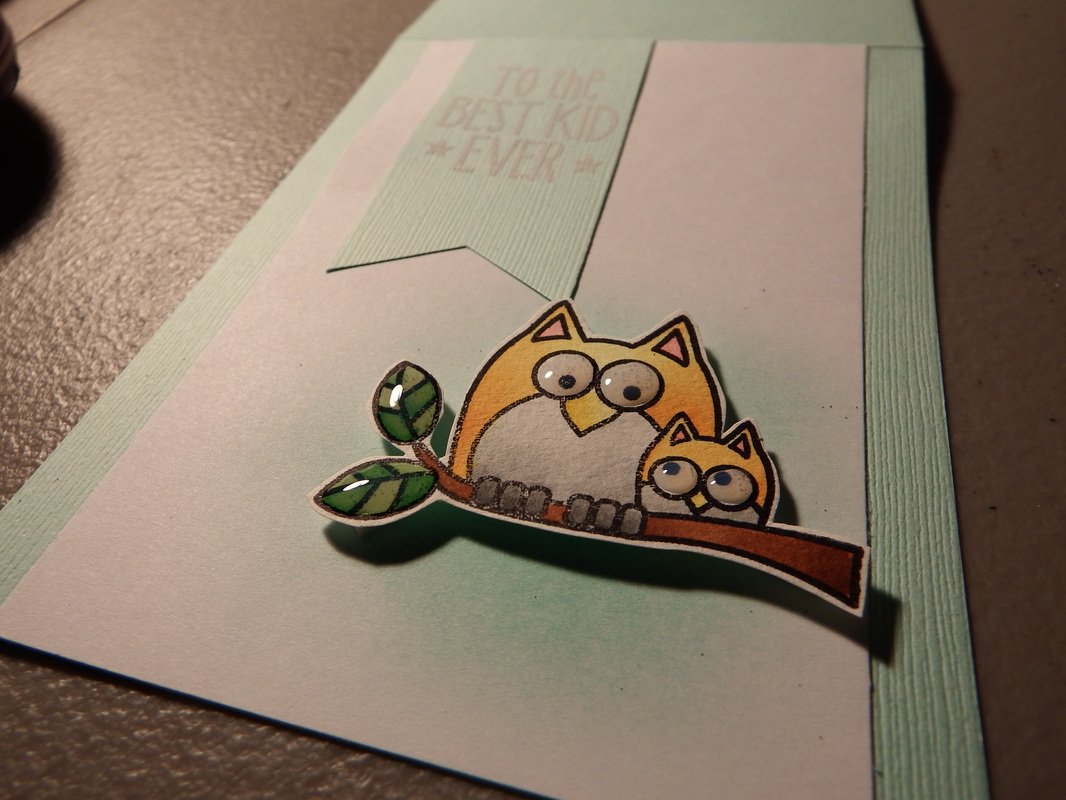
After you've adhered all of your pieced down (use the foam dimensional dots for your colored piece) you can add your Glossy Accents. You can do this before but then you have to wait for them to dry before you can assemble your card. I chose to do this after I've assembled. Just be sure to put foam under all the places where you plan on putting your gloss. It can be heavy and you don't want it to move while it's drying and puddling anywhere.
After this, I find a nice place where it won't be disturbed to finish drying.
I hope you've enjoyed this card! Be sure to "like" Paperberry Lane on Facebook to have updates in your social feed! Like my blog? Please share and spread the love!
After this, I find a nice place where it won't be disturbed to finish drying.
I hope you've enjoyed this card! Be sure to "like" Paperberry Lane on Facebook to have updates in your social feed! Like my blog? Please share and spread the love!
 RSS Feed

