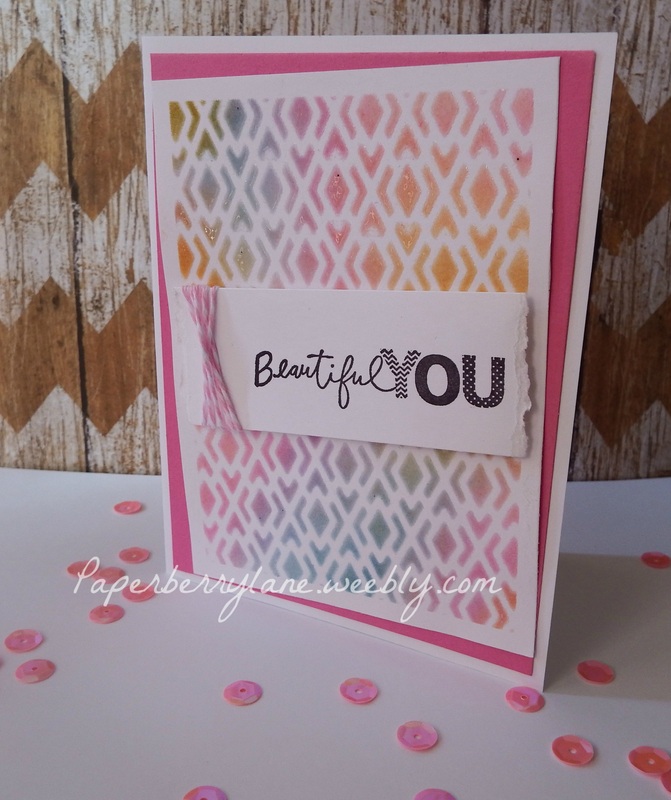
You all asked for it and here it is! I'm going to show you how I do those brightly colored and shiny cards so here's how it's done! I'm only showing a tutorial for one of them. If you can get the technique from this one then you can apply it to another style.
I know that when I think of distress inks, I usually think dark, drab colors but this tutorial is going to show you just how fun and versatile these inks really are!
I know that when I think of distress inks, I usually think dark, drab colors but this tutorial is going to show you just how fun and versatile these inks really are!
To get started you will need:
1. Two sheets of 8 1/2" x 11" (one white and one matching your ink)
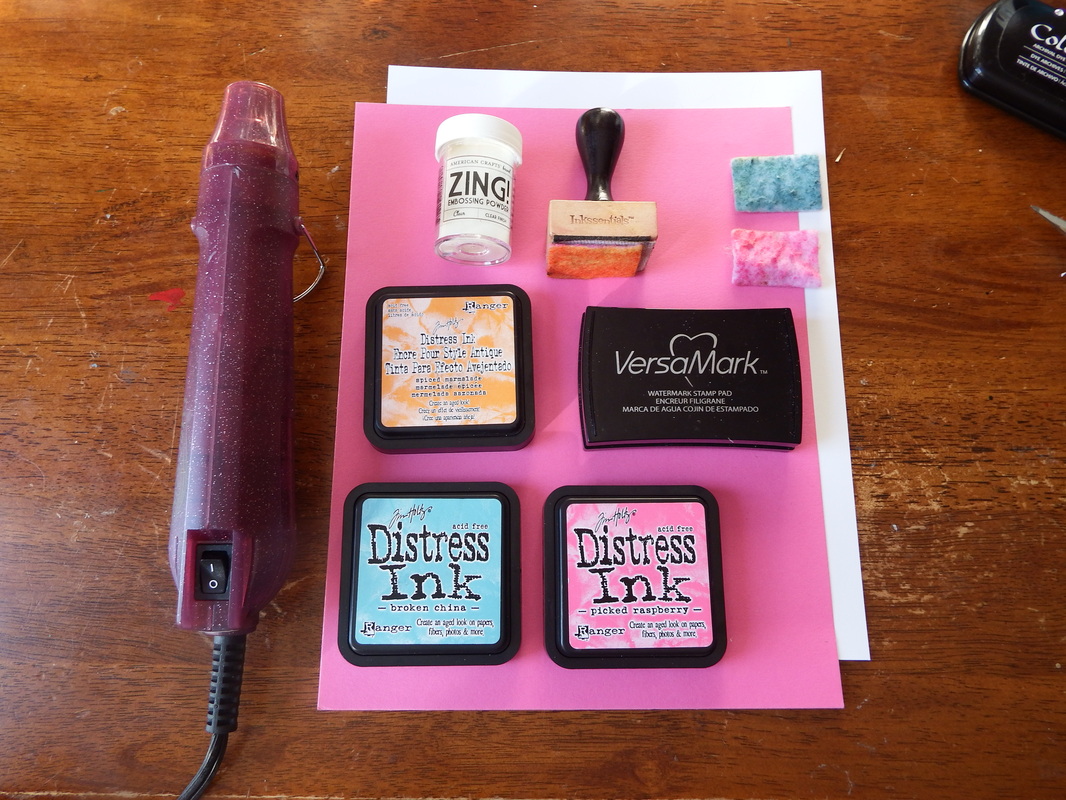
2. Heat embossing tool
3. At least 1 color of distress ink. Of course there is a greater impact with more colors but you can do it with just one!
4. Clear embossing powder
5. Versamark (or your favorite clear embossing ink).
6. Distress ink pads (one for each color) and pad holder.
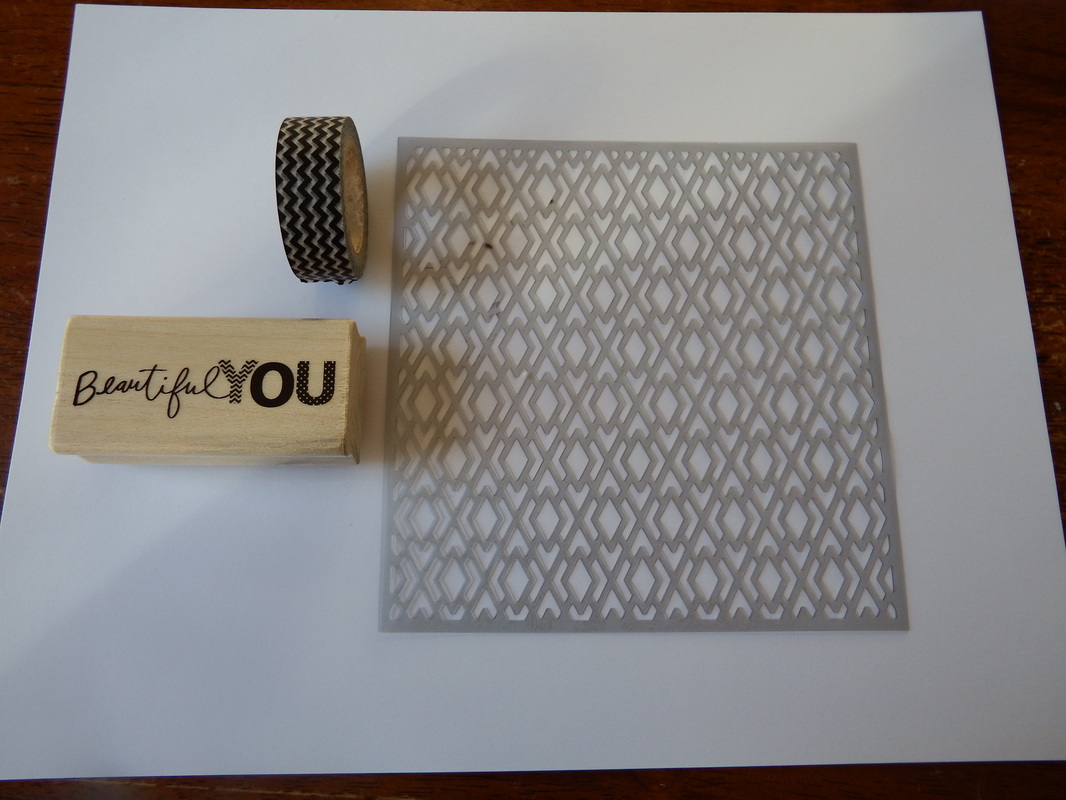
7. Favorite sentiment stamp with ink of your choice.
8. Washi tape. I like to buy this on clearance and keep it around for projects like this. It's very re-positionable and if you get it cheap, it won't matter what the design is!
9. Stencil of your choice. The one I'm using is from Heidi Swapp.
Let's get to the good stuff:
Start by cutting your white cardstock to 5 1/2" x 8 1/2".
Then create a matt out of your pink (or your coordinating color) that is 1/4" smaller than your card base. Return to your white cardstock and cut a piece that is 1/4" smaller than the pink mat piece.
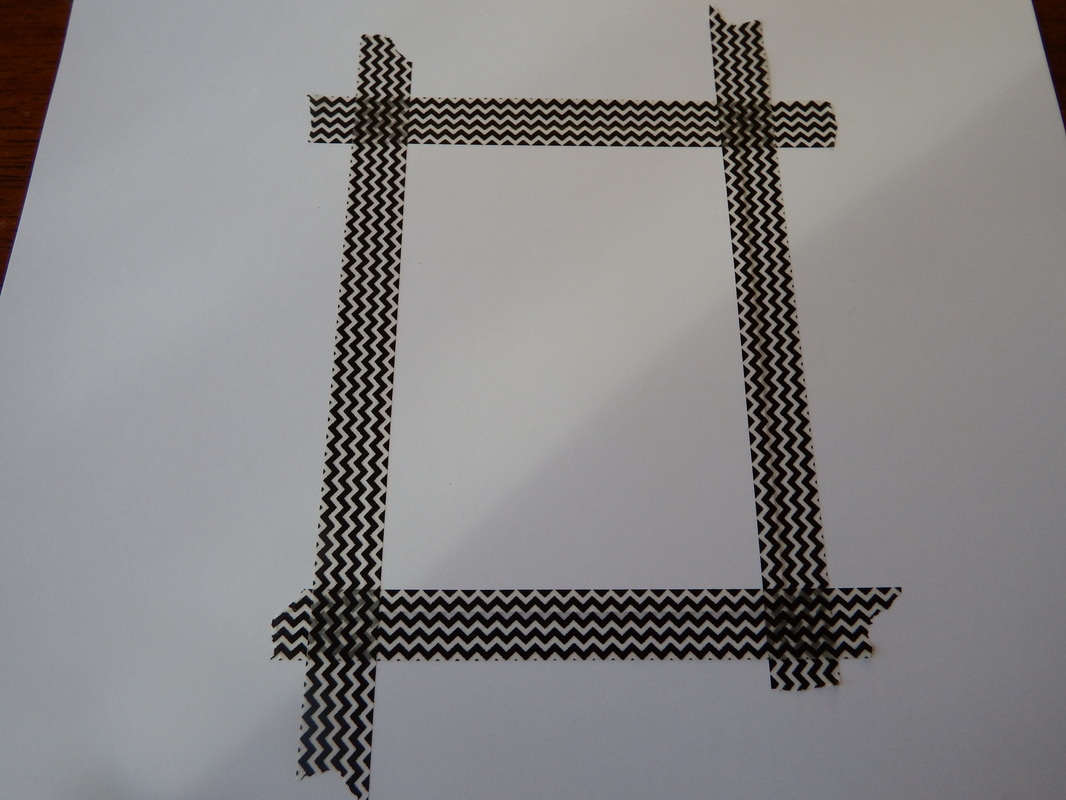
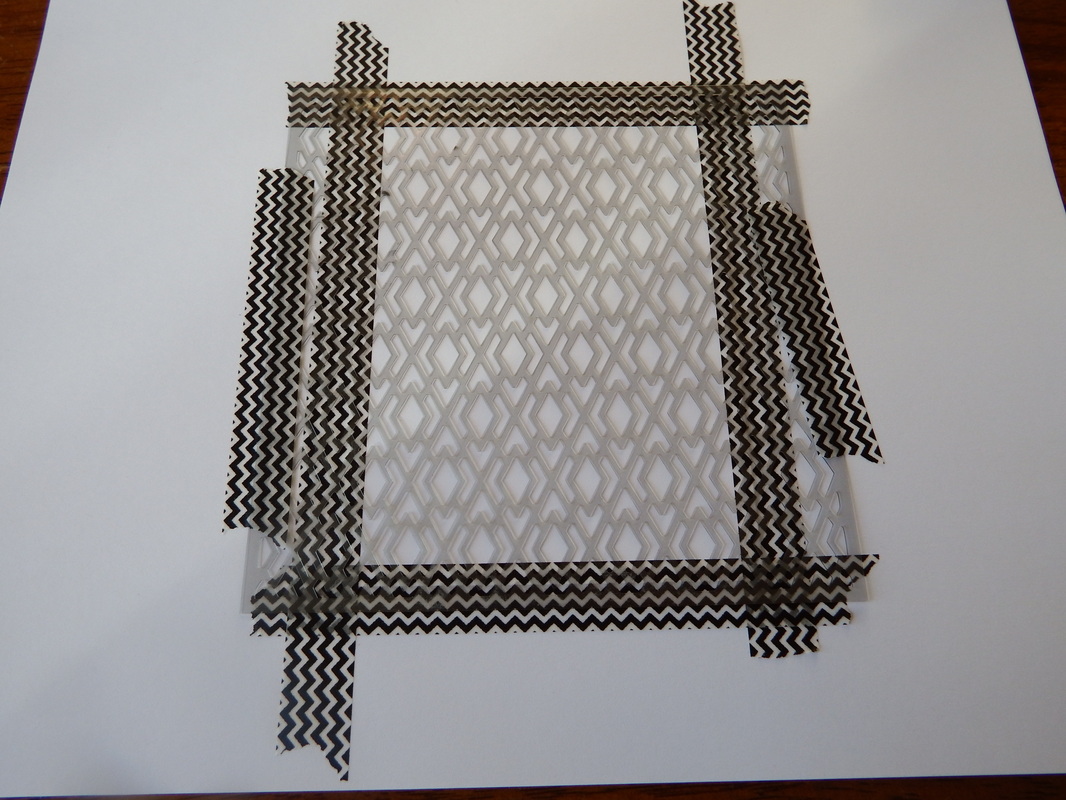
Adhere pink mat to card base and set aside for now. Take a piece of scrap cardstock that is larger than your white piece and tape it to it with your washi tape. I created a "frame" around mine by making sure that the tape was even on all sides. Your taped piece should look something like this one.
2. Heat embossing tool
3. At least 1 color of distress ink. Of course there is a greater impact with more colors but you can do it with just one!
4. Clear embossing powder
5. Versamark (or your favorite clear embossing ink).
6. Distress ink pads (one for each color) and pad holder.
7. Favorite sentiment stamp with ink of your choice.
8. Washi tape. I like to buy this on clearance and keep it around for projects like this. It's very re-positionable and if you get it cheap, it won't matter what the design is!
9. Stencil of your choice. The one I'm using is from Heidi Swapp.
Let's get to the good stuff:
Start by cutting your white cardstock to 5 1/2" x 8 1/2".
Then create a matt out of your pink (or your coordinating color) that is 1/4" smaller than your card base. Return to your white cardstock and cut a piece that is 1/4" smaller than the pink mat piece.
Adhere pink mat to card base and set aside for now. Take a piece of scrap cardstock that is larger than your white piece and tape it to it with your washi tape. I created a "frame" around mine by making sure that the tape was even on all sides. Your taped piece should look something like this one.
Now, tape your stencil in place. This doesn't have to be exact; you just don't want it to move while you are working over it.
After you choose your first color, put a pad on the bottom of your inking tool and ink it up. Using circular motion, apply the ink in the areas you choose. There is no right or wrong way and every piece you do will look different, so play with it a bit and have fun with it.
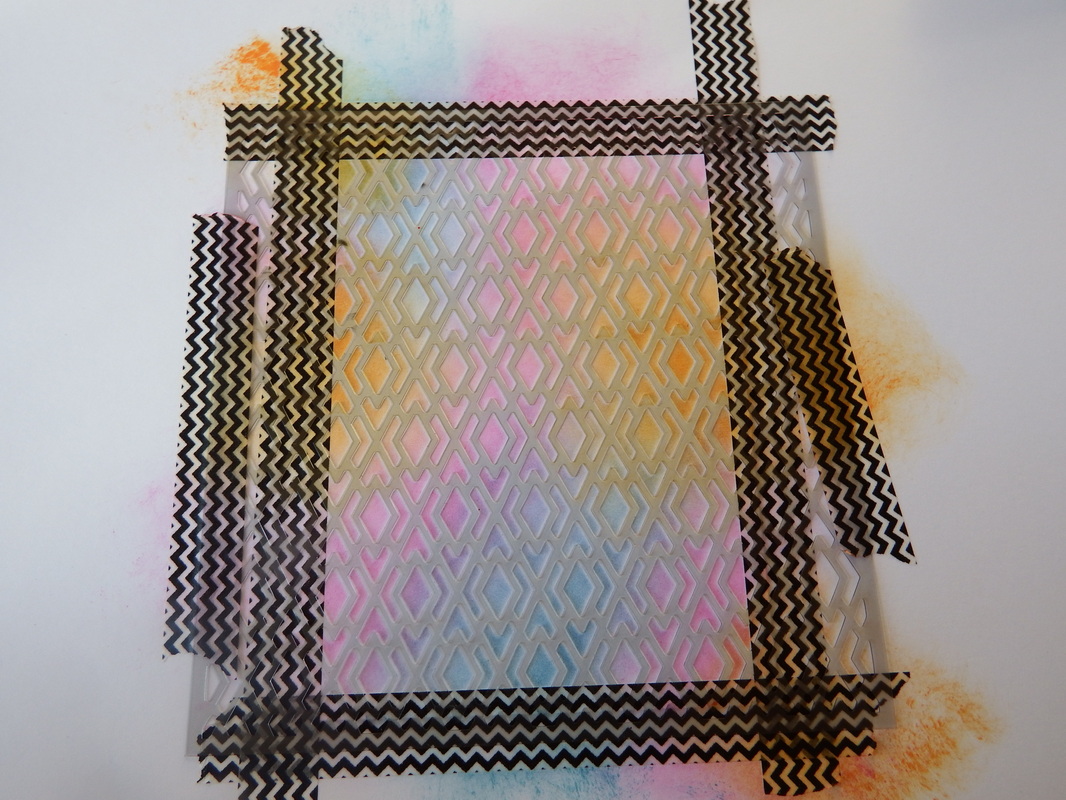
Don't be afraid to let those colors touch because you can create new colors like green and purple. This gives you more color for your buck. I know this looks kinda messy and you may feeling iffy at this point but I promise it will make more sense once you peel off your stencil.
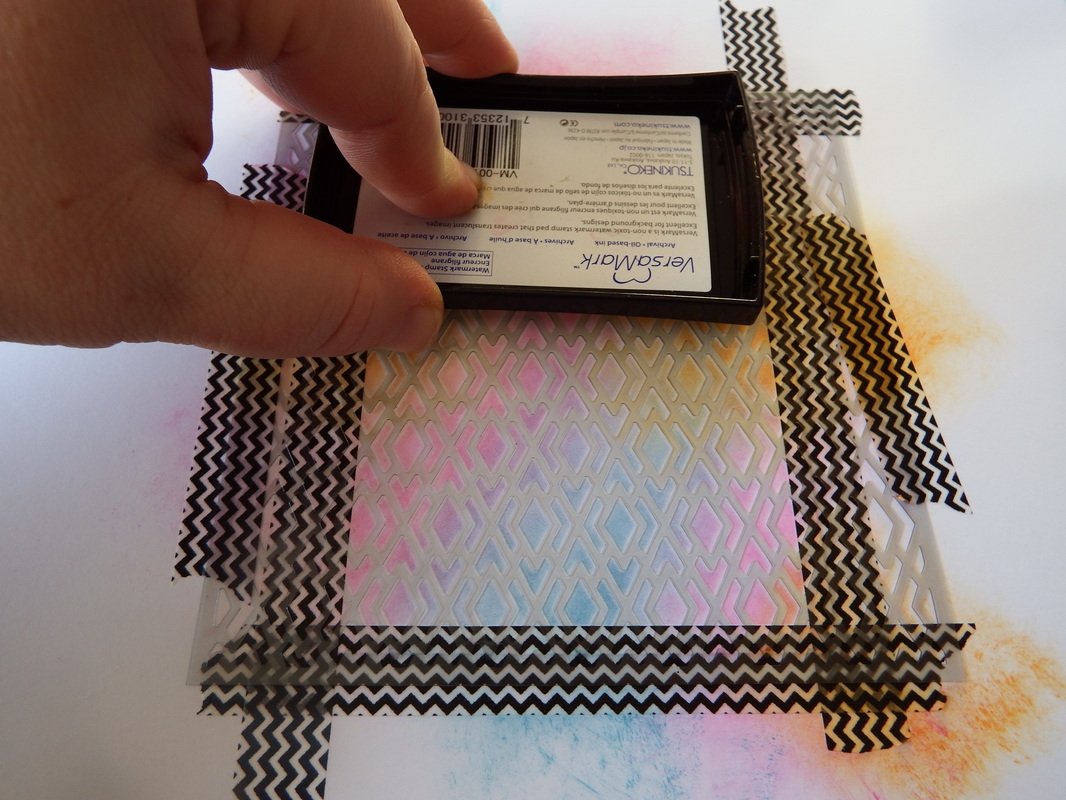
If you don't want a bunch of color on your Versamark pad; be sure to wipe it well before the next step. But be sure you don't wipe the colors on your stencil on the piece below it.
Now, take your Versamark pad and blot all over the stencil. Be sure that you are pressing hard enough to get it on the cardstock but not so much that it doesn't run underneath it.
Carefully peel off your tape and your stencil. Remember that this paper has seen ink then Versamark ink so it can be easily torn on the edges!
Now apply your clear embossing powder over your image. Be sure that it's coated well. Heat as you normally would with your heating tool.
Now apply your clear embossing powder over your image. Be sure that it's coated well. Heat as you normally would with your heating tool.
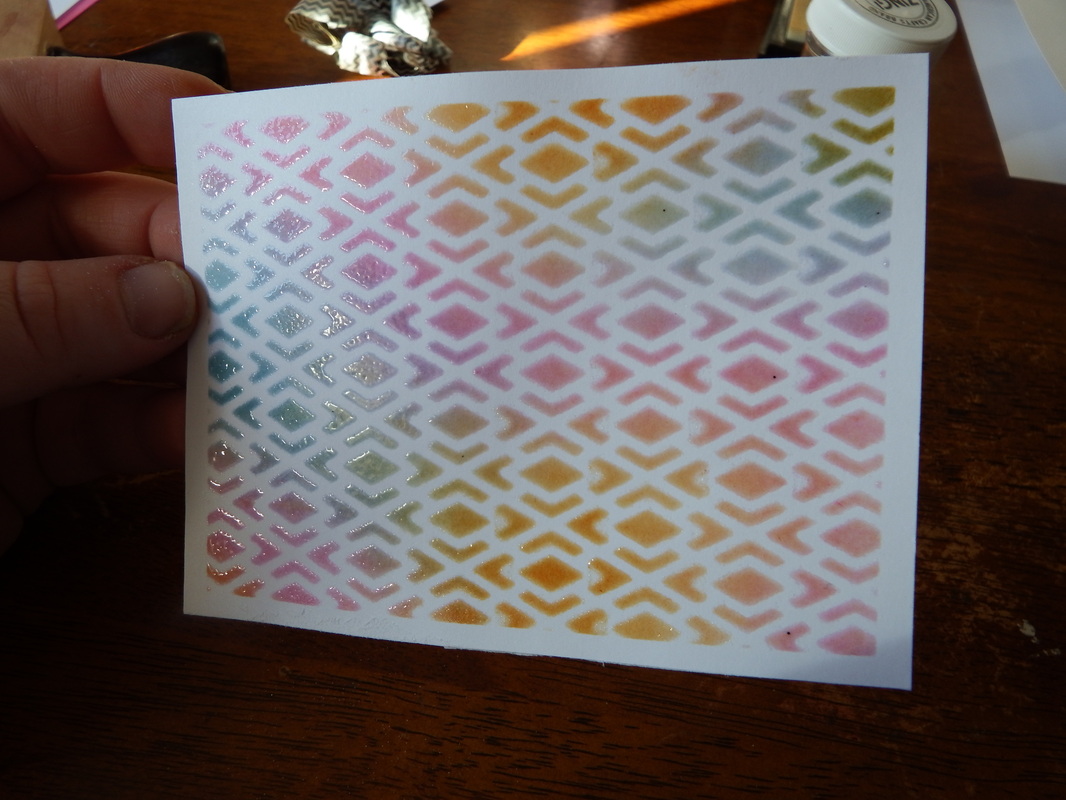
Look at that shine! Doesn't it look great?!?! I just love this technique!
Now, stamp your sentiment with your ink of choice, tear the edges and if you choose, wink some coordinating bakers twine or ribbon around one end and adhere to distressed piece with foam dimensional dots.
To finish, adhere embossed piece to matted base with adhesive of your choice at an angle.
That's it! I look forward to all of you sharing your own creations using this technique!
Also, don't forget to like Paperberry Lane on Facebook to stay current on what's happening on my lane!
 RSS Feed

