A couple of weeks back; I posted a couple of card class projects and some of you said you wanted to see a tutorial on the flower pot card. Well, I was finally able to get some time to doing it! I found the original idea here on Pinterest.
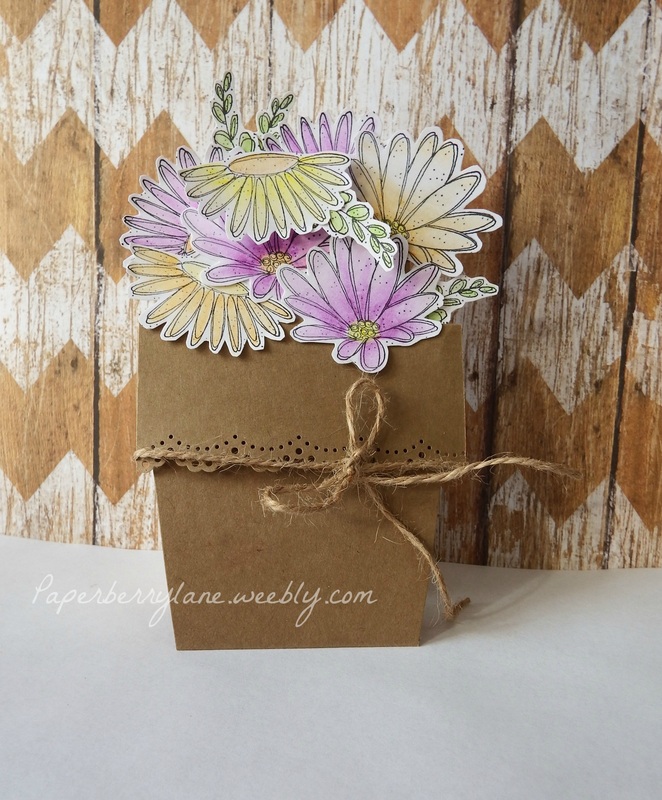
This card is so easy and versatile. This version is what I used for my advanced card-making class and features coloring techniques with watercolor pencils. For my beginner class, we did the same card, only with punched versions of the flowers. And don't forget that you can personalize this for anyone or occasion! Easter is just around this corner...wouldn't this card look cute full of eggs instead of flowers? Or how about full of poinsettias for Christmas?!? Or even full of sweetly stamped strawberries for a summer birthday? This card is great for almost everything!
And away we go!

What you will need:
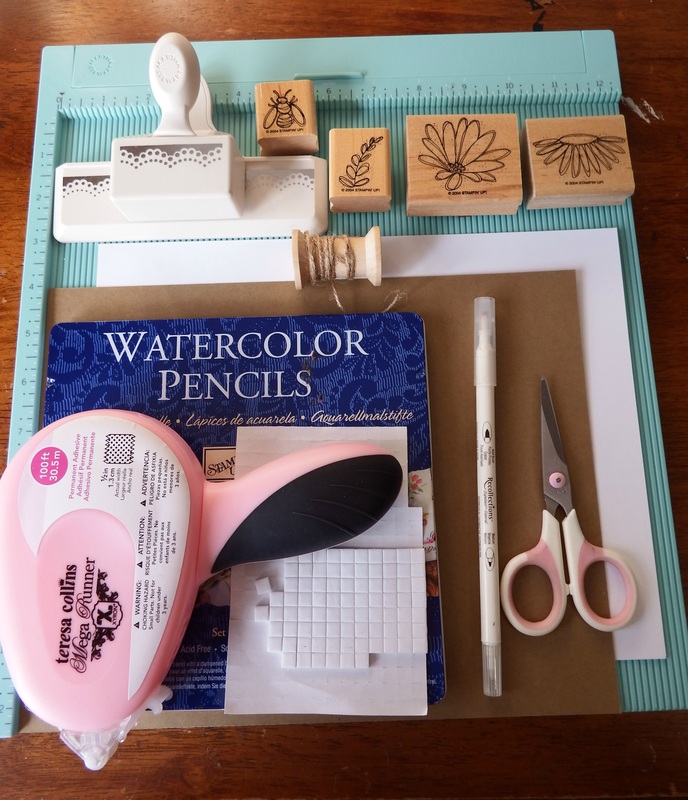
In addition to the basic paper trimmer, and adhesive you will need:
1. 1-8 1/2" x 11" kraft color AND white cardstock
2. Watercolor pencils (or whatever you're comfortable with for coloring stamped images).
3. Blender marker (for watercolor pencils only).
4. Scissors
5. Ribbon (I used jute).
6. Border punch (this is also optional...I used one of my favorites; Martha Stewart's Doily border punch).
7. Your favorite flower stamp(s) I tried to choose ones that would be easy to cut out by hand...unless you have some that have a matching die, then even better!
8. Foam dimensional dots (also optional if you don't want to use them or don't have them on hand).
9. Scoring board OR you could just use the scoring blade on your trimmer as well.
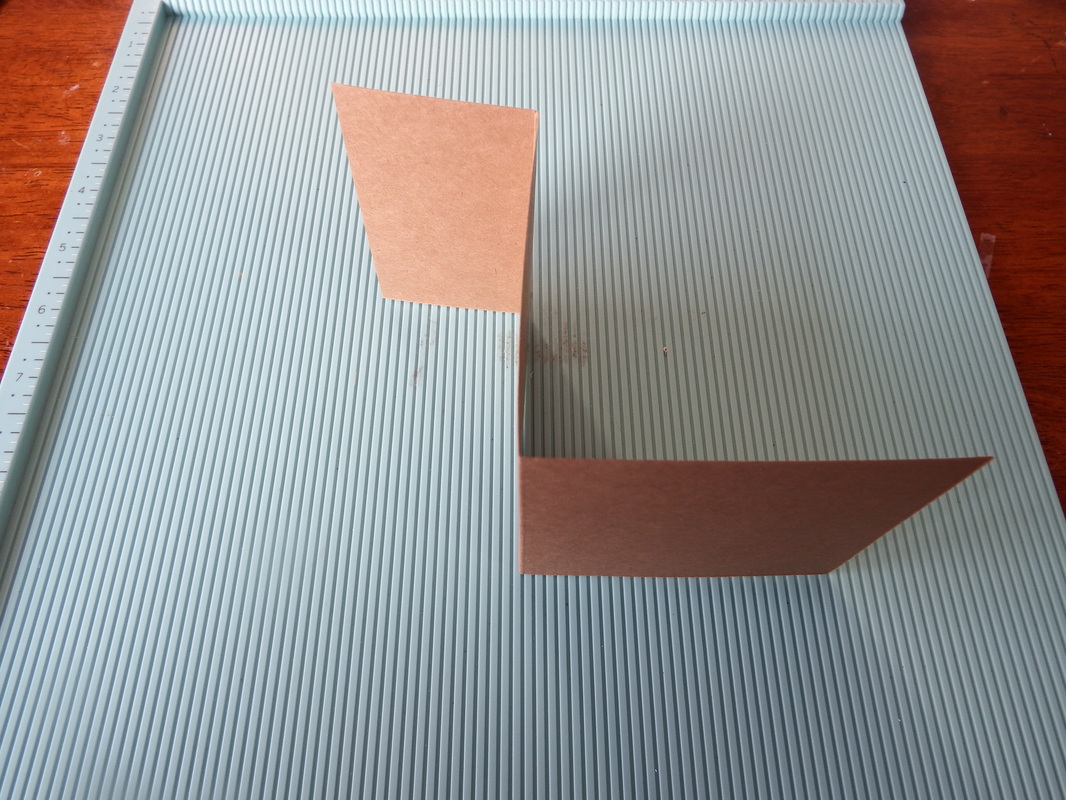
Begin by cutting your kraft cardstock to 3 1/2" x 9". Lay your piece lengthways and score at 3 1/2" and 7".
1. 1-8 1/2" x 11" kraft color AND white cardstock
2. Watercolor pencils (or whatever you're comfortable with for coloring stamped images).
3. Blender marker (for watercolor pencils only).
4. Scissors
5. Ribbon (I used jute).
6. Border punch (this is also optional...I used one of my favorites; Martha Stewart's Doily border punch).
7. Your favorite flower stamp(s) I tried to choose ones that would be easy to cut out by hand...unless you have some that have a matching die, then even better!
8. Foam dimensional dots (also optional if you don't want to use them or don't have them on hand).
9. Scoring board OR you could just use the scoring blade on your trimmer as well.
Begin by cutting your kraft cardstock to 3 1/2" x 9". Lay your piece lengthways and score at 3 1/2" and 7".

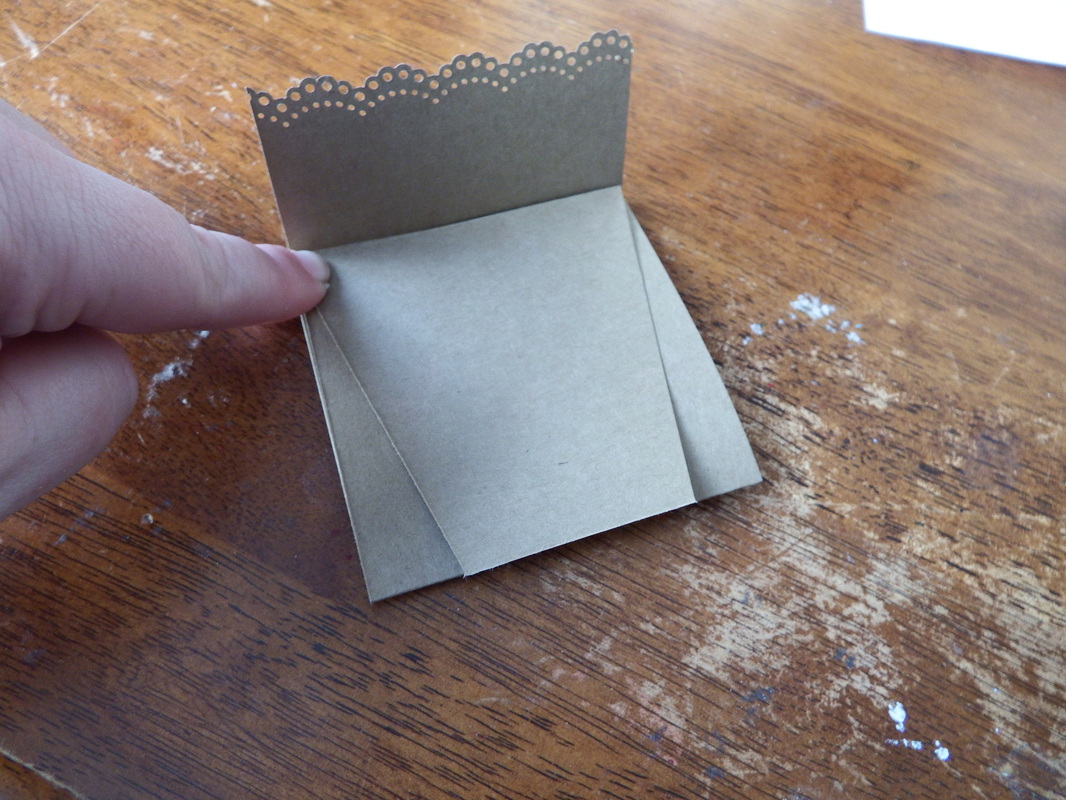
Fold both "flaps" back so that your piece forms a Z shape like so:
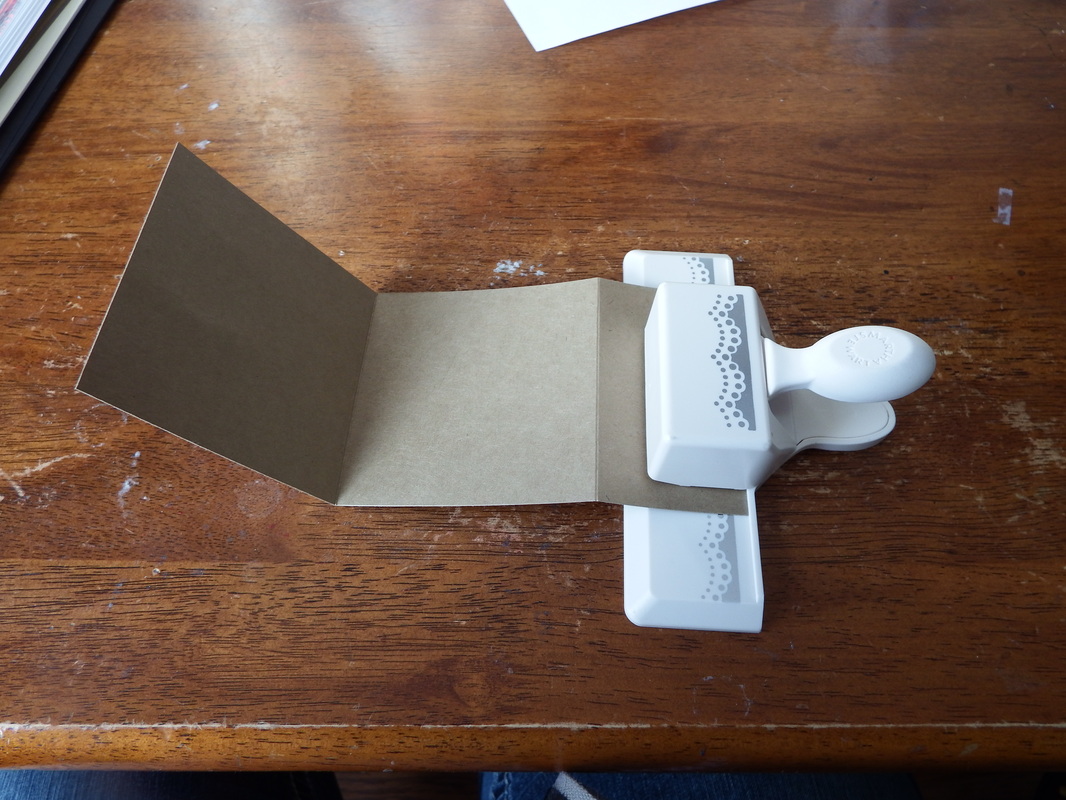
Now, take your edge punch and trim the edge of the shortest flap. It helps to lay your piece out rather than trying to do it while it's folded.
Set this aside while we work on the template for the pot. To cut the template you will need a piece of cardstock (scrap works well as you can use this piece over and over). Cut a piece to 3 1/2" x 3 1/2". Line one edge of the square in the middle of the trimmer well and the corner on the same side at the 1/2" mark like this:
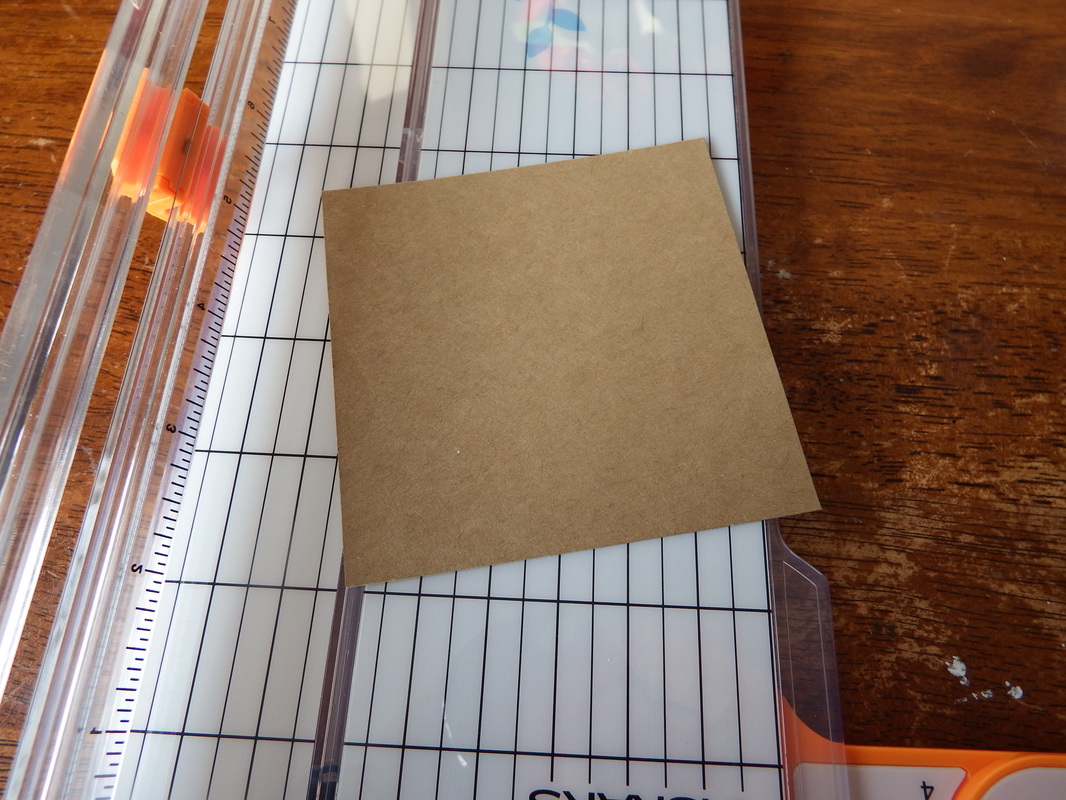
But make sure that it is lined at the half in mark and not the 3/4" mark like I did or you will also have to redo your pot because it will be messed up. Don't judge, it was early in the morning. :)
Once this side is done, flip it over and repeat on the other side, making sure that your finished piece will resemble a "V" shape.
Once this side is done, flip it over and repeat on the other side, making sure that your finished piece will resemble a "V" shape.
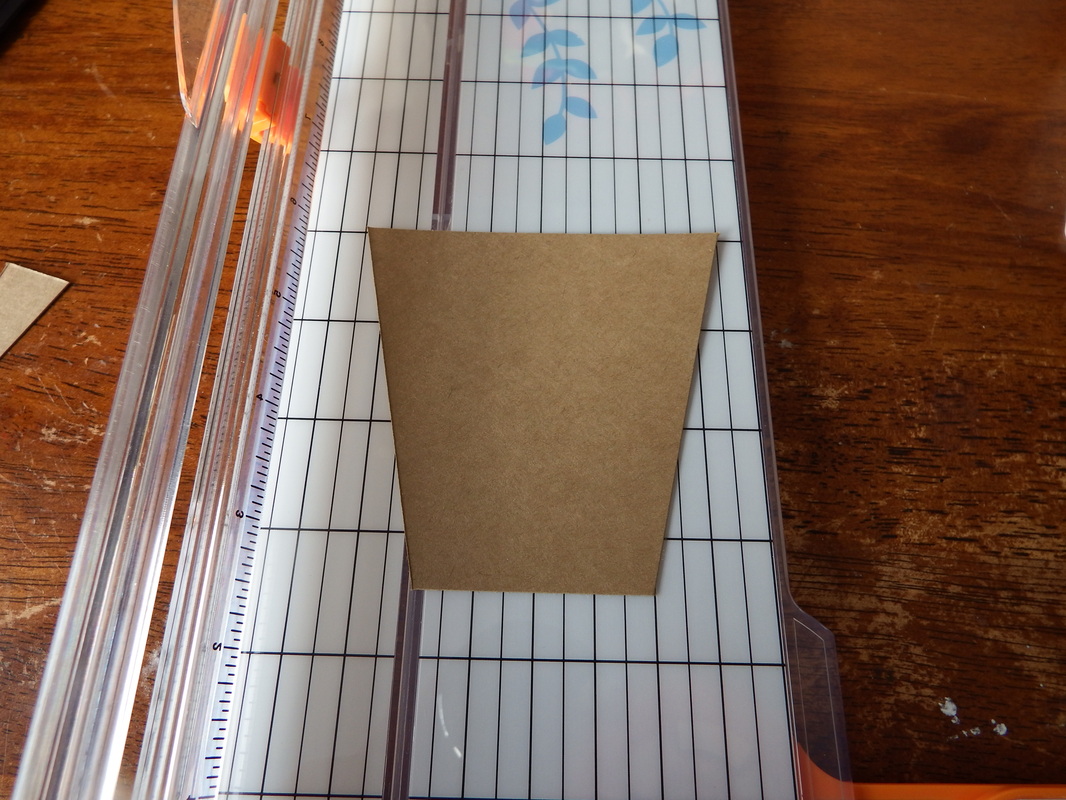
Now, you will use this piece to hold against the the pot and either trace and cut or just freehand cut. Just be sure that you are NOT cutting the small punched flap. Leave that little guy as he is. That is the part that will hold the entire card together so let him be! :)
Tie a ribbon around the top part of the pot. This is what will hold your card together so be sure that you tie it tight enough to hold it together but not so much as to damage it.
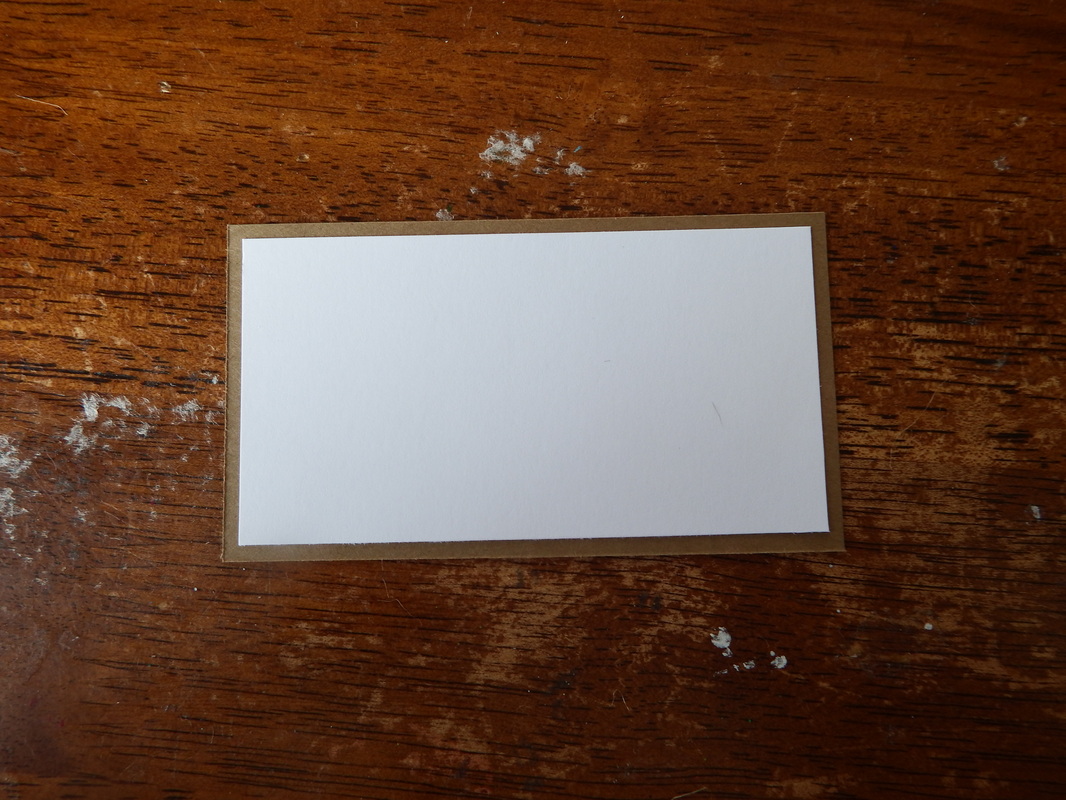
Now for the card insert...
Cut a piece of kraft cardstock to 2 1/2" x 4 1/2". Cut a piece of white cardstock to 2 1/4" x 4 1/2". Adhere together, making sure that spacing is even around all of the edges.
Now for the card insert...
Cut a piece of kraft cardstock to 2 1/2" x 4 1/2". Cut a piece of white cardstock to 2 1/4" x 4 1/2". Adhere together, making sure that spacing is even around all of the edges.
Now comes the fun and creative part...your flowers! Simply stamp your flowers of choice with your favorite ink and color! I'm not going to go into a watercolor pencil tutorial. If you aren't familiar with them and would like to see a tutorial let me know! This is pretty much what my work area looks like when I'm working with them though:
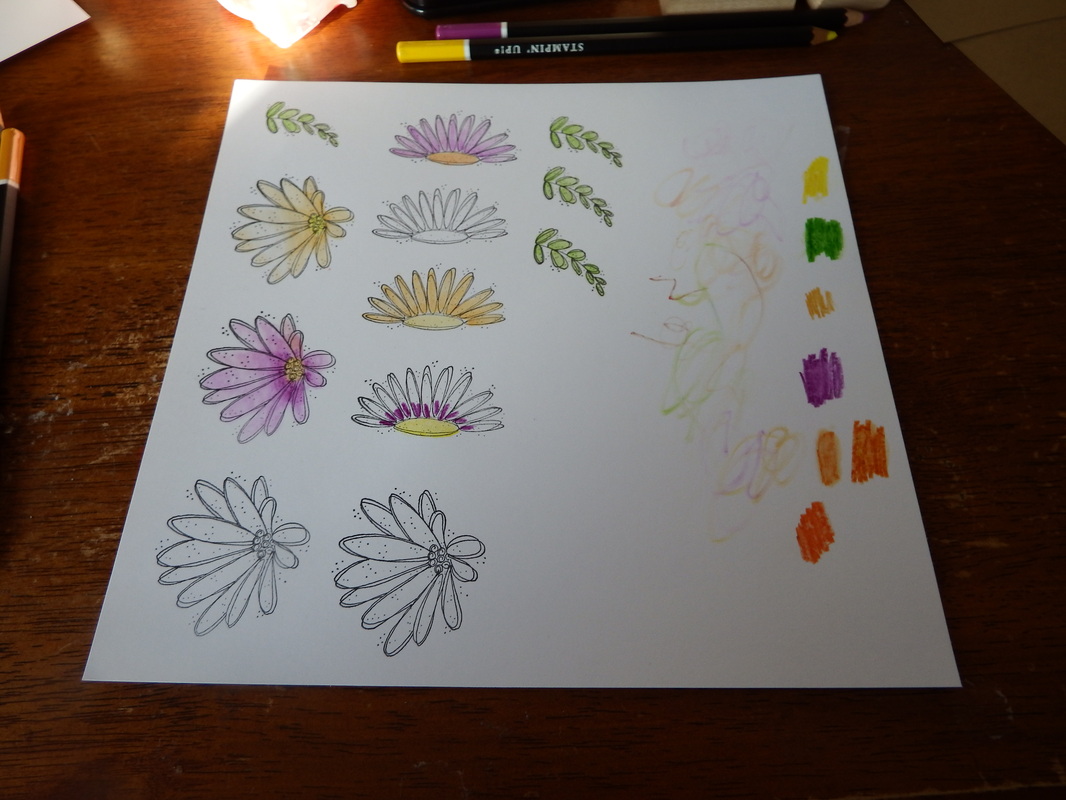
Watercolor pencils are a great way to color images. I would love to use Copics but they are so expensive! So, I think this is a great, affordable alternative!
Next, you are going to cut all of your colored flowers out. I freehand them with a pair of small, pointed scissors for more exact cuts.
After you've cut them out, be sure that your insert is inside of the card before starting to lay them out. This will keep you from putting them too low in the pot and you can also hang some over the "edge" of your pot for a more realistic look. I keep arranging my flowers until I get a look that I'm happy with THEN I adhere them to the base.
I used my foam dimensional dots to adhere to one flower in the middle simply because I don't like flat cards but feel free to do as you wish with yours!
I hope this tutorial was helpful! I'm looking forward to seeing all of the great pics of everyone else's versions.
Have a question you want answered? A technique you want explained? Or a tutorial you want to see? Let me know!
And as always...don't forget to Like Paperberry Lane on Facebook to stay up-to-date on what's going on in my lane!
Have a question you want answered? A technique you want explained? Or a tutorial you want to see? Let me know!
And as always...don't forget to Like Paperberry Lane on Facebook to stay up-to-date on what's going on in my lane!
 RSS Feed

