It took me longer than anticipated to get this tutorial done and posted but it's finally here! These butterflies are surprisingly easy and create a major WOW factor to your piece. The rest of the card is simple enough to create and you best of all...you can make these in any colors you have on hand!
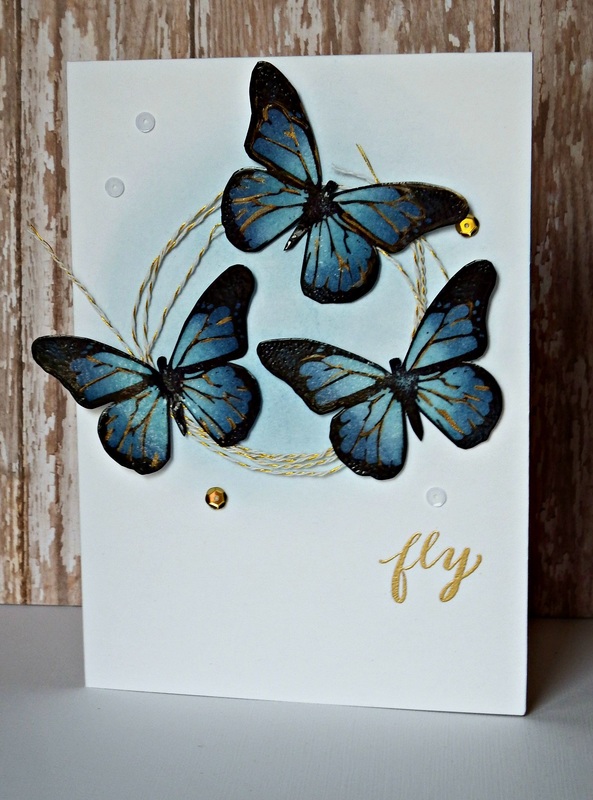
I love the color of these guys and they are easy and fast enough to make again and again. Make a bunch ahead and keep them for when you need them! Trying new color combinations can be addicting! Let's get started.
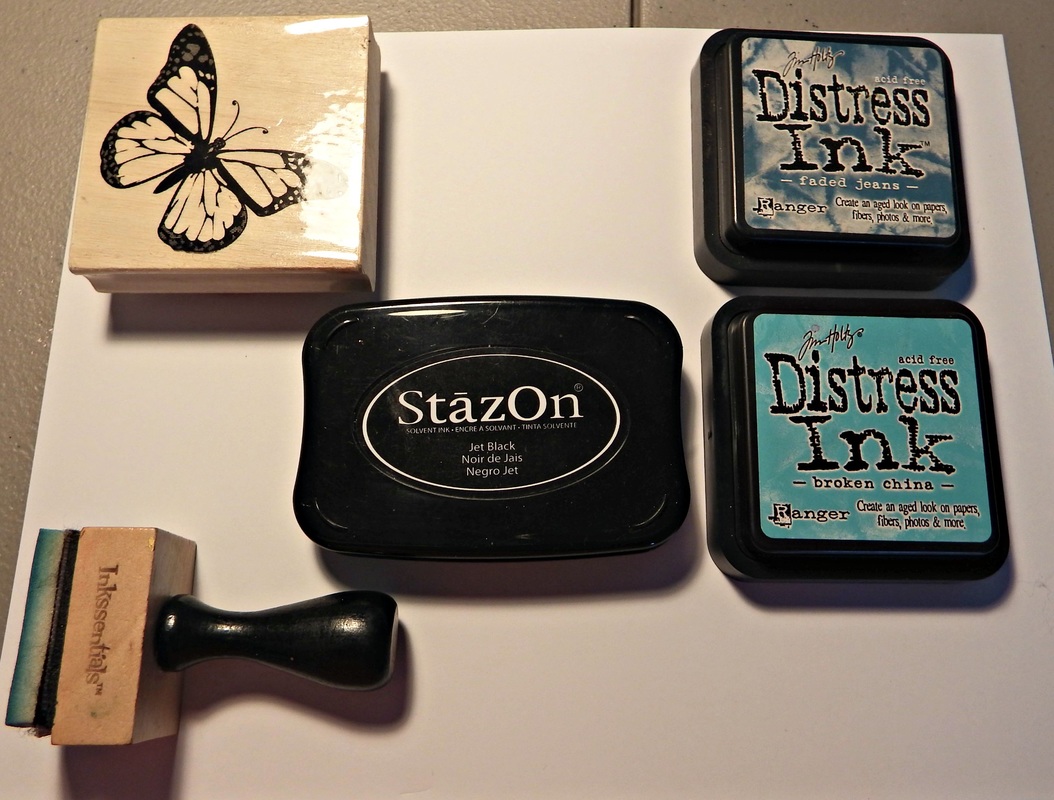
You will need:
1. 1 piece of white cardstock
2. 1 butterfly stamp of your choice ( I prefer ones that look more realistic).
3. Ink of your choosing. (I'm using distress ink because it blends wonderfully). Also I use Stazon ink because I think it stamps darker and holds up better to the distressing.
4. Distress ink blender and foam pad.
5. Sharp craft scissors.
Optional:
1. Clear embossing powder
2. Heat gun
3. Versamark
4. Gold leaf pen
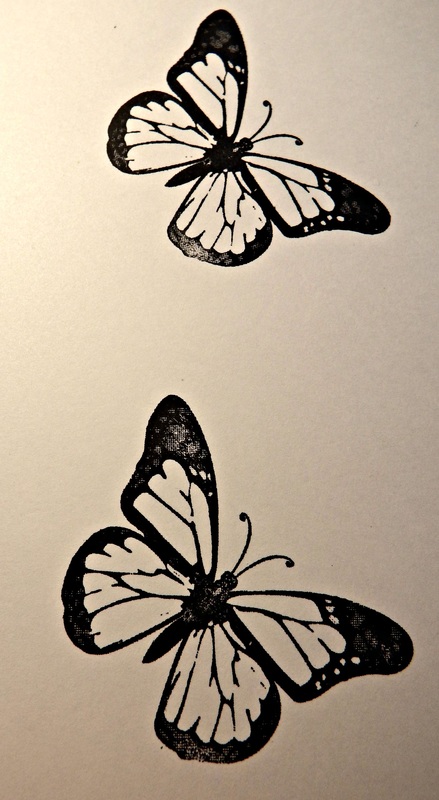
Begin by stamping your butterfly in the black ink of your choosing. If you're doing more than one at a time, be sure to give yourself enough room to work around each one with your foam blender.
Next, working from the inside, apply the first color. I choose to go lighter on the inside and darker around the edges. It's just my preference and you can certainly do it any way you like best.
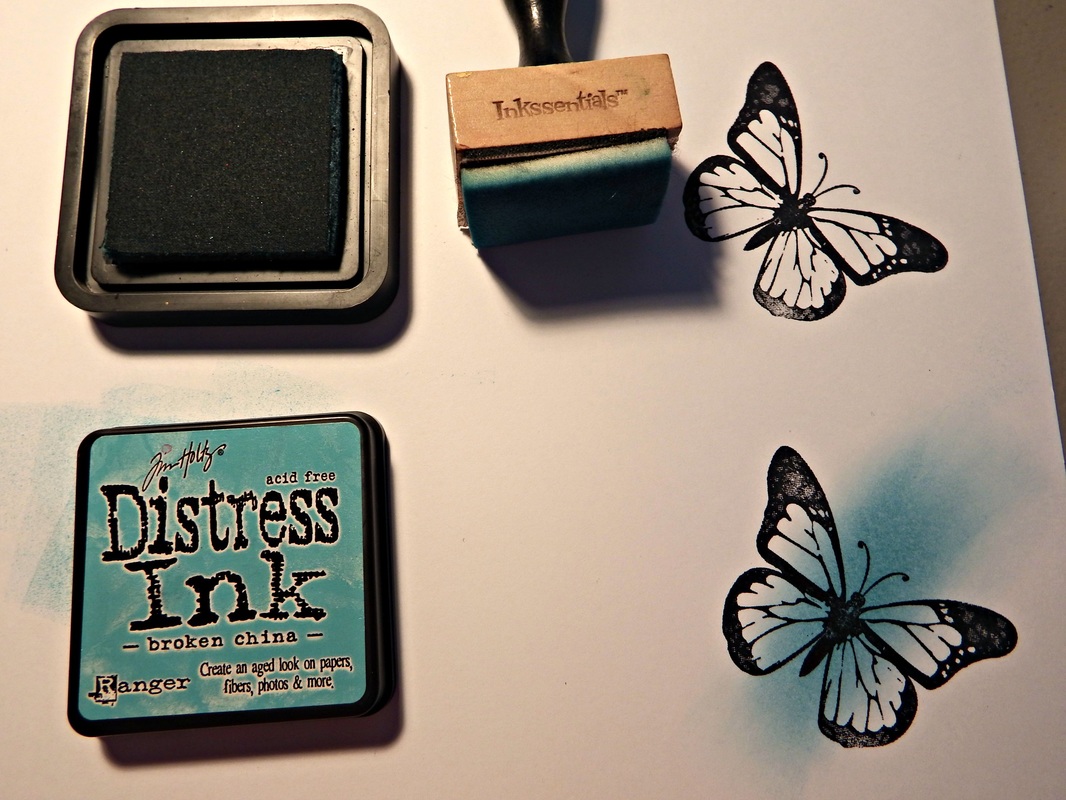
After you've applied the first color; go ahead and apply the second color in the same way. I choose to make this color darker on the very edges. This gives the butterfly more of an ombre appearance.
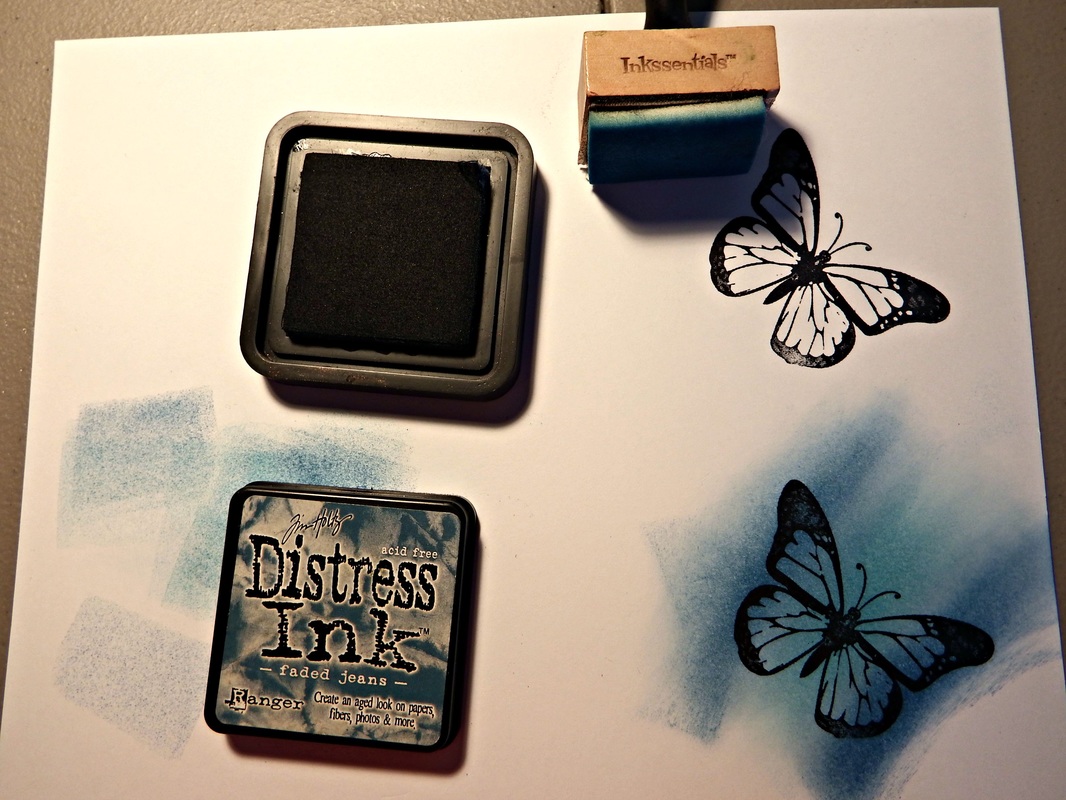
At this point you may be thinking that it really doesn't look like anything special but after you've cut our your butterfly it is a lot easier to see. All of the extra ink around your image can be distracting...so don't give up on it!
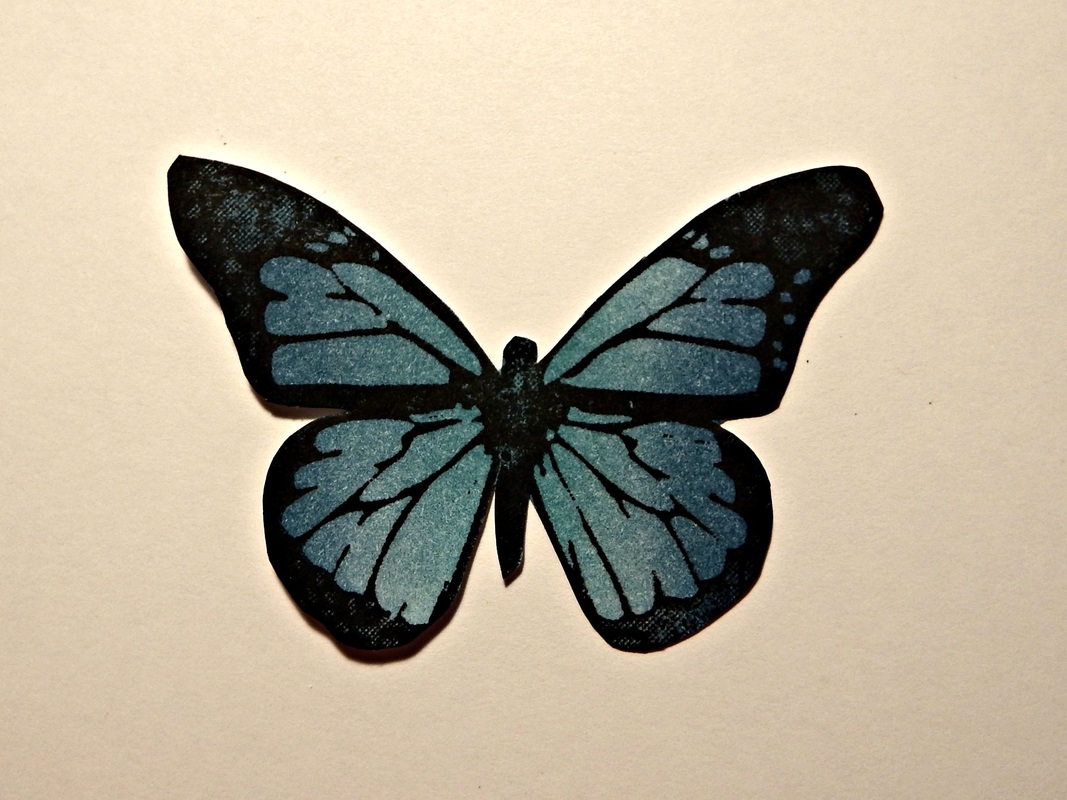
Go ahead and cut your butterfly out using your sharp detail scissors. I choose to cut antenna off because I don't want to see any of the cardstock. You can always add something behind them to appear as antenna if you choose so, but I leave them off and no one seems to miss them! You didn't even notice, did ya!?! :)
Here's your finished butterfly!
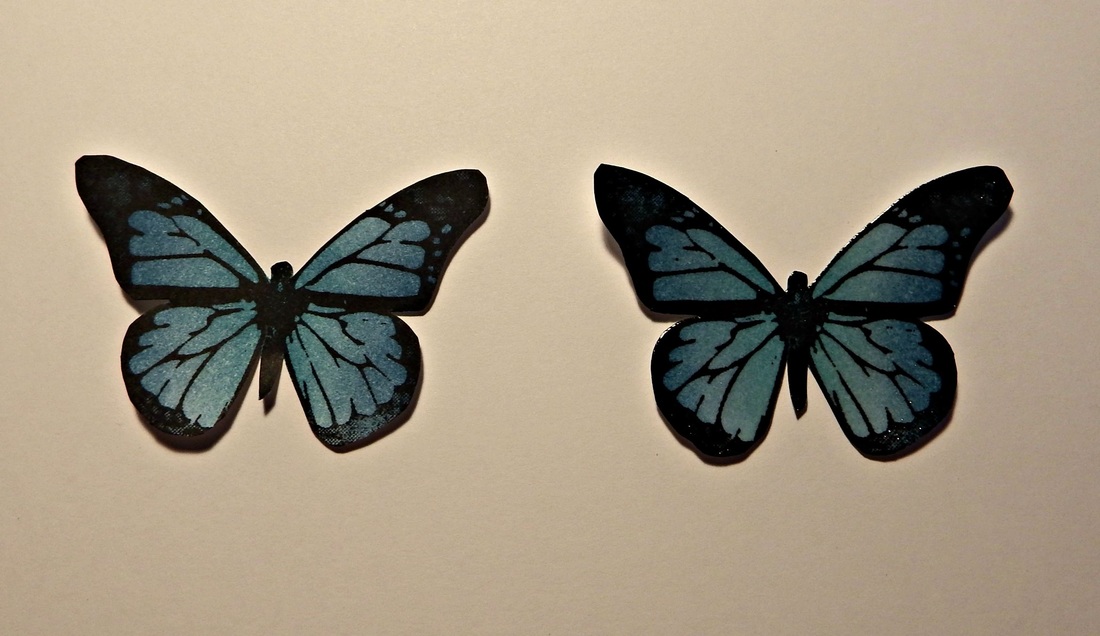
The next step is completely optional if you don't want to do it. But for myself, I do it. You're going to take your Versamark pad and stamp it all over the surface of the butterfly. Make sure that you don't miss any spots!
Then cover your freshly inked butterfly in clear embossing powder. Heat with your heat tool as you would normally.
Go ahead and cut your butterfly out using your sharp detail scissors. I choose to cut antenna off because I don't want to see any of the cardstock. You can always add something behind them to appear as antenna if you choose so, but I leave them off and no one seems to miss them! You didn't even notice, did ya!?! :)
Here's your finished butterfly!
The next step is completely optional if you don't want to do it. But for myself, I do it. You're going to take your Versamark pad and stamp it all over the surface of the butterfly. Make sure that you don't miss any spots!
Then cover your freshly inked butterfly in clear embossing powder. Heat with your heat tool as you would normally.
It's hard to see in the picture but, the embossing powder not only gives the butterfly a nice shine but also makes the colors more vivid and helps to take away some of the "sponging appearance". You can also finish off your butterflies with a gold leafing pen on the details BEFORE you emboss. Copper or silver would also look great. Play with different color combinations and have fun with it!
I hope you've found this tutorial helpful! If you have, please like Paperberry Lane on Facebook and stay updated on all future blogs and tutorials I post...and see some really great cards in the mean time!
Thanks for stopping by!
Thanks for stopping by!
 RSS Feed

