It has been a while since I've been able to post a blog...much less a tutorial. Life sure has it's way of getting busy and keeping you humble.
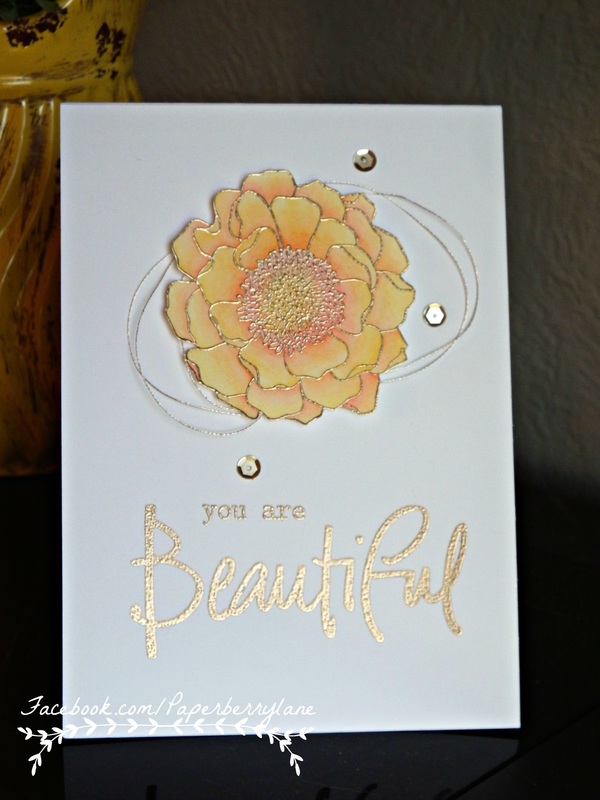
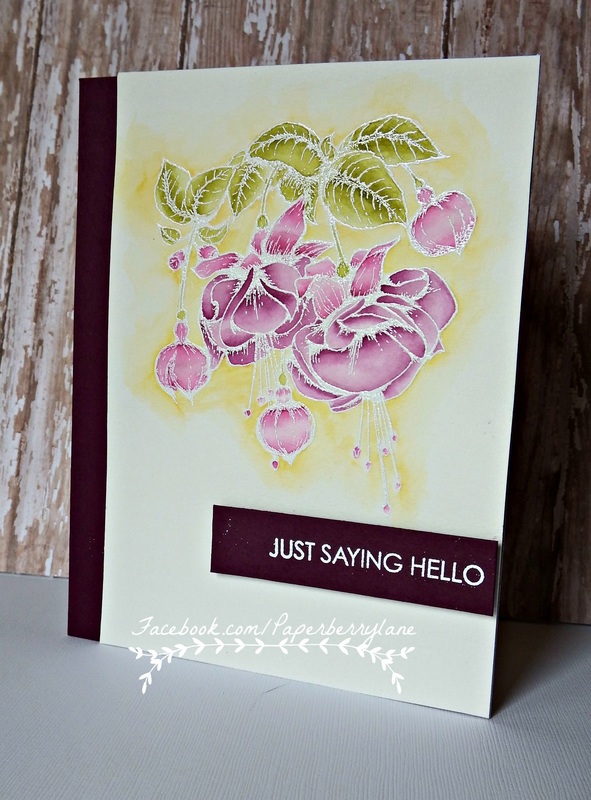
After posting this card on the Paperberry Lane Facebook page, I had several requests for tutorials and others asking how I did this card. I am happy to say that it is a very simple card that has a big wow factor. Many times less really is more!
After posting this card on the Paperberry Lane Facebook page, I had several requests for tutorials and others asking how I did this card. I am happy to say that it is a very simple card that has a big wow factor. Many times less really is more!


 RSS Feed

